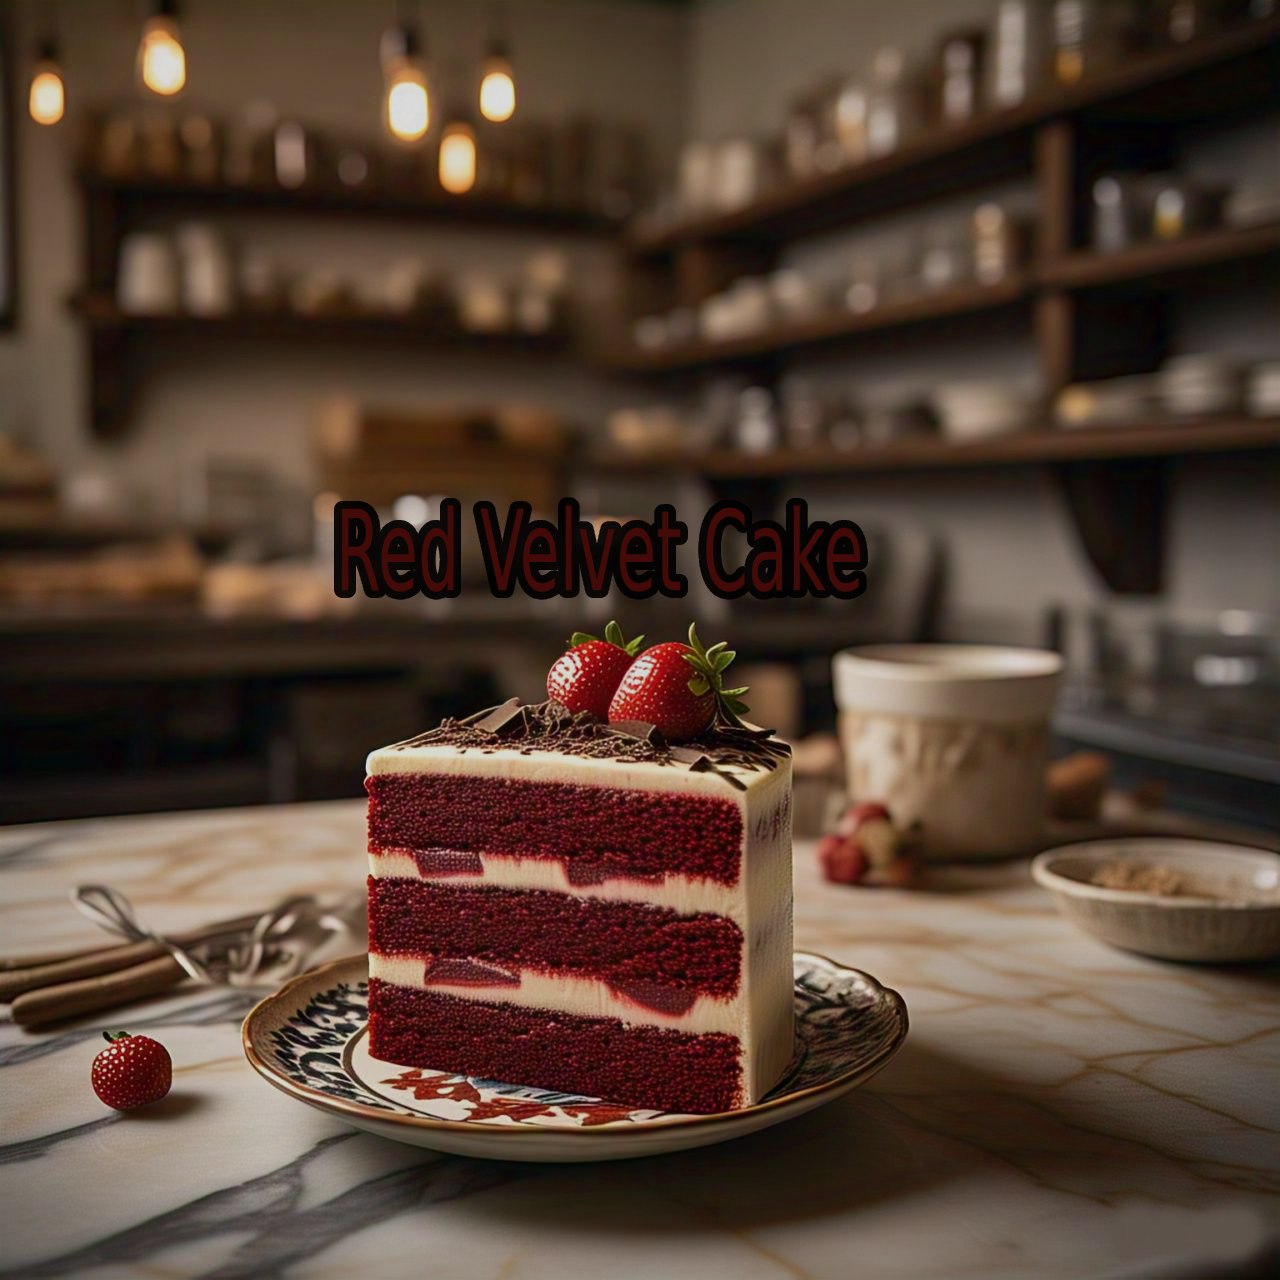
Red Velvet Cake is more than just a visually appealing dessert—it’s a delightful combination of flavor, texture, and nostalgia. With its vibrant red color, subtle cocoa flavor, and rich cream cheese frosting, this cake has found a place in homes, restaurants, and bakeries around the world.
In this detailed guide, we’ll take you through everything you need to know about Red Velvet Cake: its intriguing history, what sets it apart, how to make it at home, recipe variations, pro baking tips, and much more. Whether you’re a beginner or a seasoned baker, this guide has you covered.
Table of Contents
🕰️ The History Behind Red Velvet Cake
Victorian Beginnings
The term “velvet” was used in the 1800s to describe cakes with a smooth, soft crumb. Velvet cakes were a popular choice for fancy occasions due to their refined texture, and over time, versions with cocoa powder emerged, leading to the first iterations of Red Velvet Cake.
The Rise of Red
The reddish color originally came from natural reactions between raw cocoa and acidic ingredients like buttermilk or vinegar. During World War II, when food coloring was scarce, bakers often used boiled beet juice for coloring and moisture. Later, food dye companies like Adams Extract helped popularize the cake by selling red food coloring alongside recipes for Red Velvet Cake.
Waldorf-Astoria Legend
Some credit the Waldorf-Astoria Hotel in New York City with popularizing the cake in the 1920s, where a guest allegedly requested the recipe and was charged a fee, prompting them to distribute it publicly out of protest—further boosting the cake’s fame.
🎂 What Makes Red Velvet Cake Special?
Unlike other cakes, Red Velvet has a distinct identity due to the following:
- Color: Its bold red color makes it visually iconic.
- Flavor: A mild chocolate taste paired with a hint of tanginess.
- Texture: True to its name, the crumb is moist, soft, and velvety.
- Frosting: Cream cheese frosting complements the cake’s flavor perfectly.
🧁 Red Velvet Cake Recipe (From Scratch)
Let’s get to the heart of this guide: baking your own Red Velvet Cake! Below is a full ingredients table for both the cake and the cream cheese frosting.
🍰 Ingredients Table
| Category | Ingredient | Quantity |
|---|---|---|
| Dry Ingredients | All-purpose flour | 2½ cups (300g) |
| Unsweetened cocoa powder | 2 tbsp | |
| Baking soda | 1 tsp | |
| Salt | ½ tsp | |
| Wet Ingredients | Granulated sugar | 1½ cups (300g) |
| Vegetable oil | 1 cup (240ml) | |
| Eggs | 2 large | |
| Buttermilk (room temp) | 1 cup (240ml) | |
| Red food coloring (liquid or gel) | 2 tbsp | |
| Vanilla extract | 1 tsp | |
| White vinegar | 1 tsp | |
| Frosting | Cream cheese (softened) | 8 oz (225g) |
| Unsalted butter (softened) | ½ cup (115g) | |
| Powdered sugar | 4 cups (480g) | |
| Vanilla extract | 1 tsp | |
| Salt | Pinch |
🔪 Instructions
Step 1: Preheat & Prepare
Preheat your oven to 350°F (175°C). Grease and flour two 9-inch round cake pans or line them with parchment paper.
Step 2: Mix Dry Ingredients
In a large bowl, sift together the flour, cocoa powder, baking soda, and salt. Set aside.
Step 3: Combine Wet Ingredients
In another bowl, whisk together the sugar and vegetable oil. Add the eggs one at a time, mixing well after each. Stir in the buttermilk, red food coloring, vanilla extract, and vinegar.
Step 4: Combine All Ingredients
Gradually add the dry ingredients to the wet mixture, stirring until just combined. Avoid overmixing.
Step 5: Bake the Cake
Divide the batter evenly into the prepared pans. Bake for 25–30 minutes, or until a toothpick inserted into the center comes out clean. Let the cakes cool in the pans for 10 minutes, then transfer to wire racks to cool completely.
Step 6: Make the Frosting
Beat cream cheese and butter until smooth and fluffy. Slowly add the powdered sugar, one cup at a time. Stir in vanilla and a pinch of salt until the frosting is creamy and lump-free.
Step 7: Assemble and Decorate
Spread frosting on the first cake layer, place the second layer on top, then frost the top and sides. Use cake crumbs or sprinkles for decoration if desired.
Step 8: Chill and Serve
Refrigerate for at least 30 minutes before slicing. Enjoy your homemade Red Velvet Cake!
🧠 Pro Tips for the Perfect Red Velvet Cake
- Use gel food coloring for a deeper red without thinning the batter.
- Room temperature ingredients mix better and result in a more even texture.
- Avoid overbaking, which can dry out the cake. Start checking at 25 minutes.
- Level your layers using a serrated knife or cake leveler for even stacking.
- Chill before slicing for cleaner, neater presentation.
🎨 Red Velvet Cake Variations
There’s more than one way to enjoy this classic dessert. Here are some popular variations to try:
1. Red Velvet Cupcakes
Same recipe, smaller portions. Perfect for parties and bake sales. Bake for 18–20 minutes in a muffin tin.
2. Red Velvet Cheesecake Cake
Layer your Red Velvet Cake with a thick cheesecake layer in the center. It’s rich, indulgent, and restaurant-worthy.
3. Red Velvet Cake Roll
Bake in a jelly roll pan and roll with cream cheese filling for an elegant dessert.
4. Gluten-Free Red Velvet
Use a 1:1 gluten-free flour blend to make it accessible for gluten-sensitive individuals.
5. Vegan Red Velvet Cake
Swap eggs for flax eggs, dairy for plant-based milk and butter, and use vegan cream cheese for a delicious plant-based dessert.
🥳 Occasions for Serving Red Velvet Cake
Red Velvet Cake is a showstopper for almost any event:
- Weddings: Its elegance and color make it a favorite wedding cake.
- Valentine’s Day: The red hue and rich flavor scream romance.
- Christmas: Pair with green decorations for a festive holiday vibe.
- Birthdays: A fun alternative to traditional birthday cakes.
- Anniversaries: Add heart-shaped sprinkles for a themed treat.
📊 Nutritional Information (Per Slice – Approximate)
| Nutrient | Amount |
|---|---|
| Calories | 420 |
| Total Fat | 23g |
| Saturated Fat | 10g |
| Cholesterol | 65mg |
| Sodium | 320mg |
| Carbohydrates | 50g |
| Sugar | 38g |
| Protein | 4g |
| Fiber | 1g |
Note: Values may vary depending on portion size and ingredients used.
📝 Final Thoughts
Red Velvet Cake is a masterpiece that’s as fun to bake as it is to eat. With its smooth texture, eye-catching color, and rich flavor, it continues to be a crowd-pleaser for all occasions. Whether you stick with the traditional version or try one of its creative variations, this cake will never go out of style. Click here For More